This is an update to my ESP32 quest.
Vroom vroom 🏎️… although if I’m being accurate, my car sounds closer to zink zink zink 🤖.
The Idea
The original goal was ambitious: build a Wi-Fi controlled car that would host its own webpage so anyone on the same network could connect and drive it from a phone or laptop.
As often happens with side projects, reality stepped in.
Due to time constraints, I reduced the scope and switched to Bluetooth Low Energy (BLE) control instead. The car is currently controlled through the Dabble mobile app using an open-source controller implementation.
A slightly smaller project shipped faster than a bigger unfinished one.
Components Used
ESP32 C3 Super Mini
The brain of the project is an ESP32. I chose the ESP32-C3 Super Mini variant because it is compact, inexpensive, and exposes enough GPIO pins for small robotics projects despite having less processing power than larger ESP32 boards. link
Chassis and Motors
The chassis kit came with four BO DC motors and wheels. link
Motor Driver
Driving motors directly from a microcontroller is a great way to release the magic smoke from your board.
Since the motors draw significantly more current than the ESP32 can provide, I used a TB6612FNG motor driver to interface between the ESP32 and the motors. link
Battery Pack
The car is powered by two 18650 Li-Ion cells connected in series, providing approximately 8.4V when fully charged and around 7.4V nominally. link
Buck Converter
Since the ESP32 expects 5V input through its regulator, I used an LM2596 buck converter to step the battery voltage down safely.link
Circuit Board
Everything was eventually assembled on a simple perfboard using enamel copper wire for the connections.
Controller App
For control, I used Dabble, which made BLE communication surprisingly straightforward. link
Challenges
This project pushed me into a world I had almost no experience with.
I’m not from an electronics background, so I had to learn everything from scratch: voltage ratings, current ratings, power delivery, common grounds, motor drivers, batteries, and debugging electrical systems.
The project took around one and a half months to complete.
If you already know what you’re doing, this is probably a weekend project.
If you don’t know what you’re doing but decide to build it anyway, it becomes an education.
From Breadboard to Circuit Board
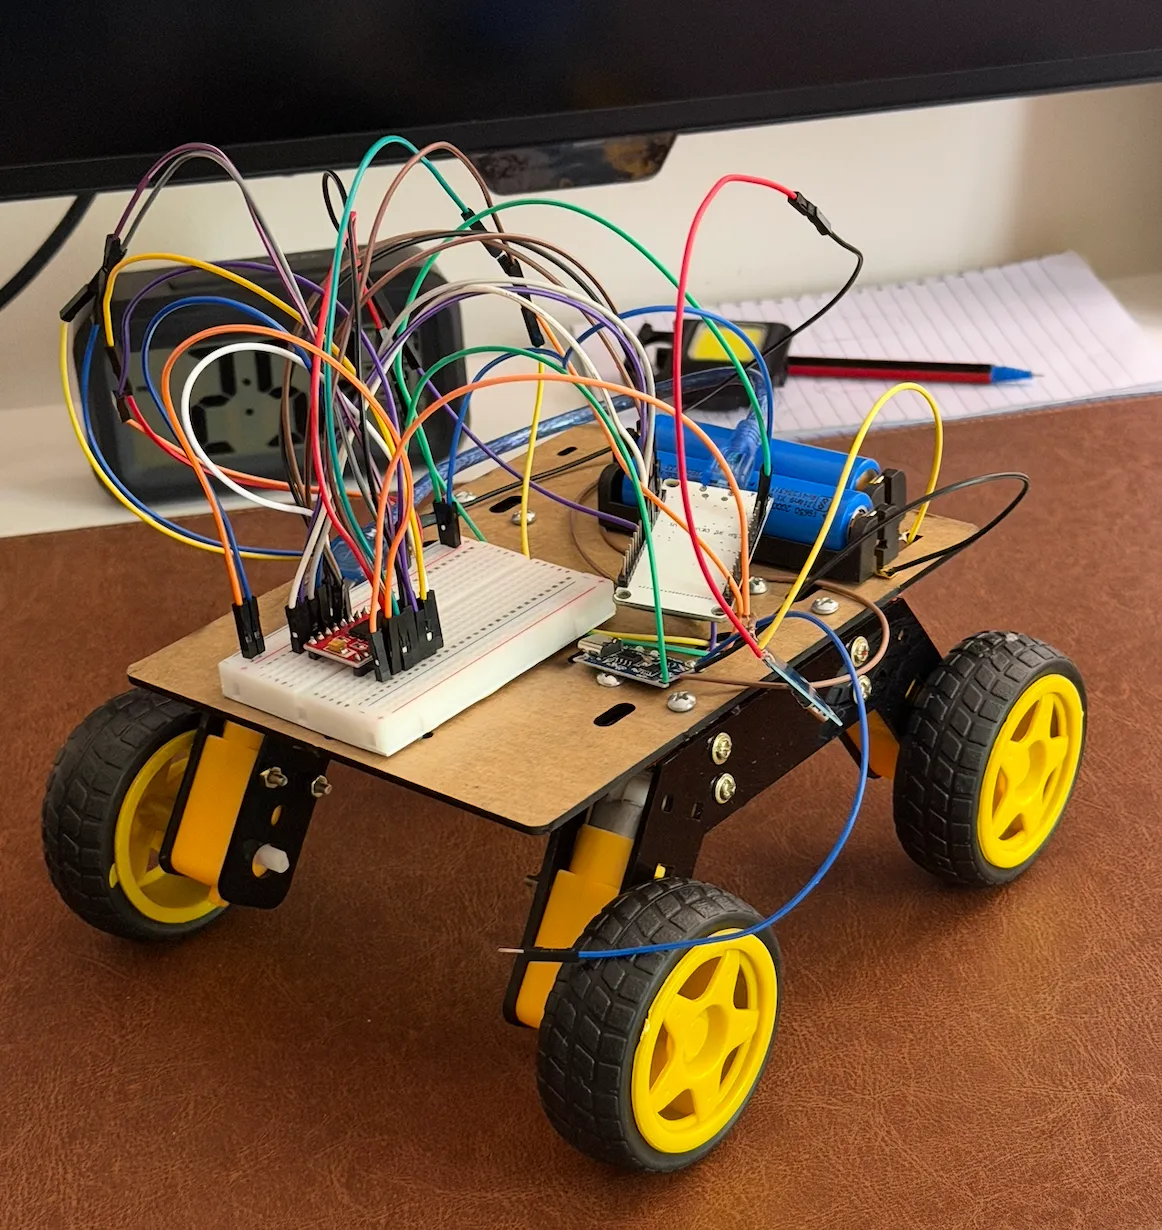
Before touching a soldering iron, I built the entire car on a breadboard first.
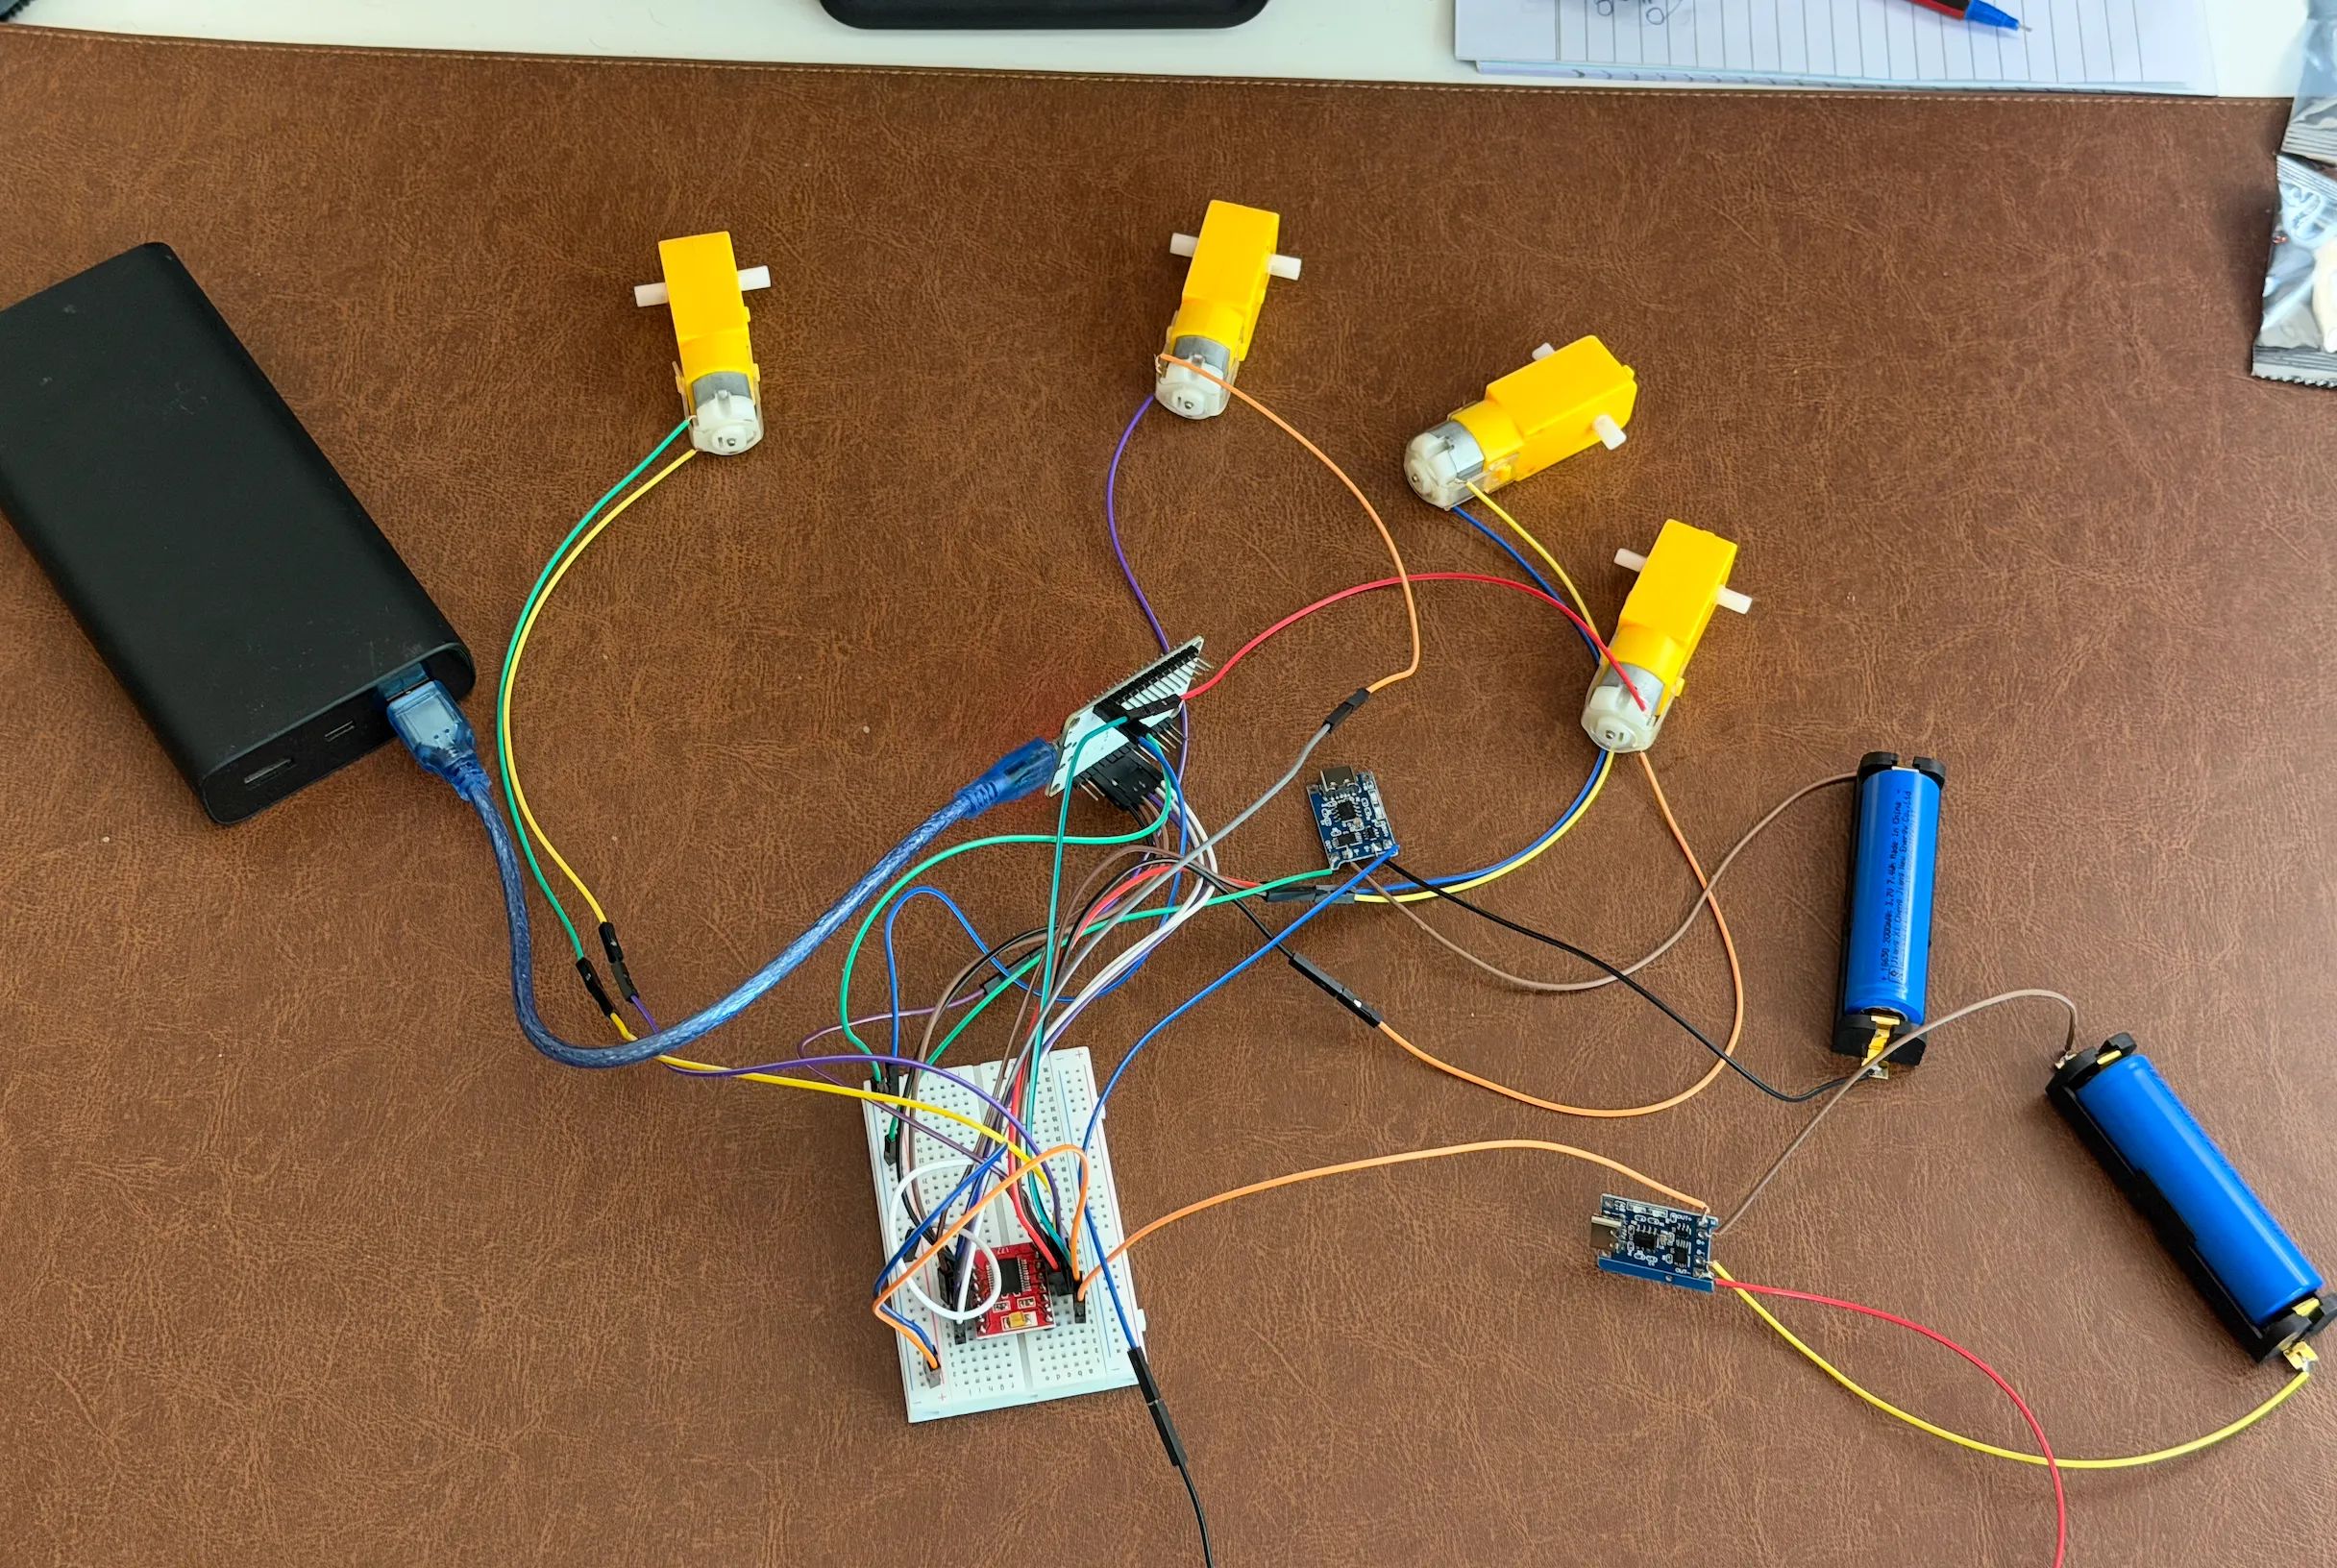
The initial version was a giant mess of jumper wires, loose connections, and components hanging together purely because optimism is a valid engineering strategy.
But it worked.
Getting the motors spinning and receiving commands from the phone on a breadboard felt like a huge milestone because it proved that the idea itself was sound.
Once the prototype was stable, I wanted to make it more compact and robust. A breadboard is great for experimentation, but it isn’t something you want bouncing around on top of a moving car.
That became an excuse to learn another skill I had been postponing for a while: soldering my own circuit board.
I moved everything onto a perfboard and started creating a permanent version of the circuit using enamel copper wire and soldered connections.
The final result was significantly smaller, sturdier, and honestly looked much cooler than the breadboard prototype.
The EMI Rabbit Hole
The biggest challenge turned out to be electromagnetic interference (EMI).
Initially, the car behaved unpredictably. The ESP32 would occasionally reset, freeze, or behave erratically whenever the motors were running at higher speeds.
Naturally, I blamed my wiring.
I checked the grounds.
I checked the power rails.
I rewired parts of the circuit multiple times.
Eventually, I discovered that the issue wasn’t my wiring at all.
The motors themselves were creating electrical noise.
DC motors are essentially coils of wire generating constantly changing magnetic fields. With four motors placed close to the ESP32, the resulting electromagnetic interference was affecting the microcontroller.
This opened up an entirely new rabbit hole.
I learned that capacitors are often placed near motors and power lines to absorb noise and stabilize the supply voltage. I vaguely remembered capacitors from first-year engineering classes, but this was the first time I needed to understand how and why they were actually used in real circuits.
I spent evenings reading articles, asking ChatGPT questions, and trying to understand concepts like decoupling capacitors, back EMF, and noise suppression.
I also discovered that every electronic device is designed around electromagnetic compatibility standards. Consumer electronics, laptops, phones, and medical equipment all have strict limits on how much electromagnetic noise they can emit or tolerate.
Hardware engineering suddenly felt much less like connecting wires and much more like controlled chaos.
Interestingly, I noticed that when I reduced the PWM duty cycle and drove the motors more gently, the issue almost disappeared. Lower current draw meant lower interference.
In the end, I shipped the project without adding capacitors because I still wasn’t confident enough in my understanding to implement the solution properly.
But that’s fine.
The goal of this project wasn’t to build the perfect car.
It was to learn enough that I know what to learn next.
Learnings
This project taught me far more than I expected.
I learned how to solder properly
This transition from a temporary breadboard prototype to a custom soldered board was probably my favorite part of the project.
As a software engineer, I’m used to turning prototypes directly into production code. Hardware doesn’t quite work like that. The breadboard version was for experimentation and debugging; the soldered version was the “production deployment.”
Building my own compact circuit board made the project feel less like a collection of components and more like an actual product.
I actually fried an ESP32 board and a motor driver during development.
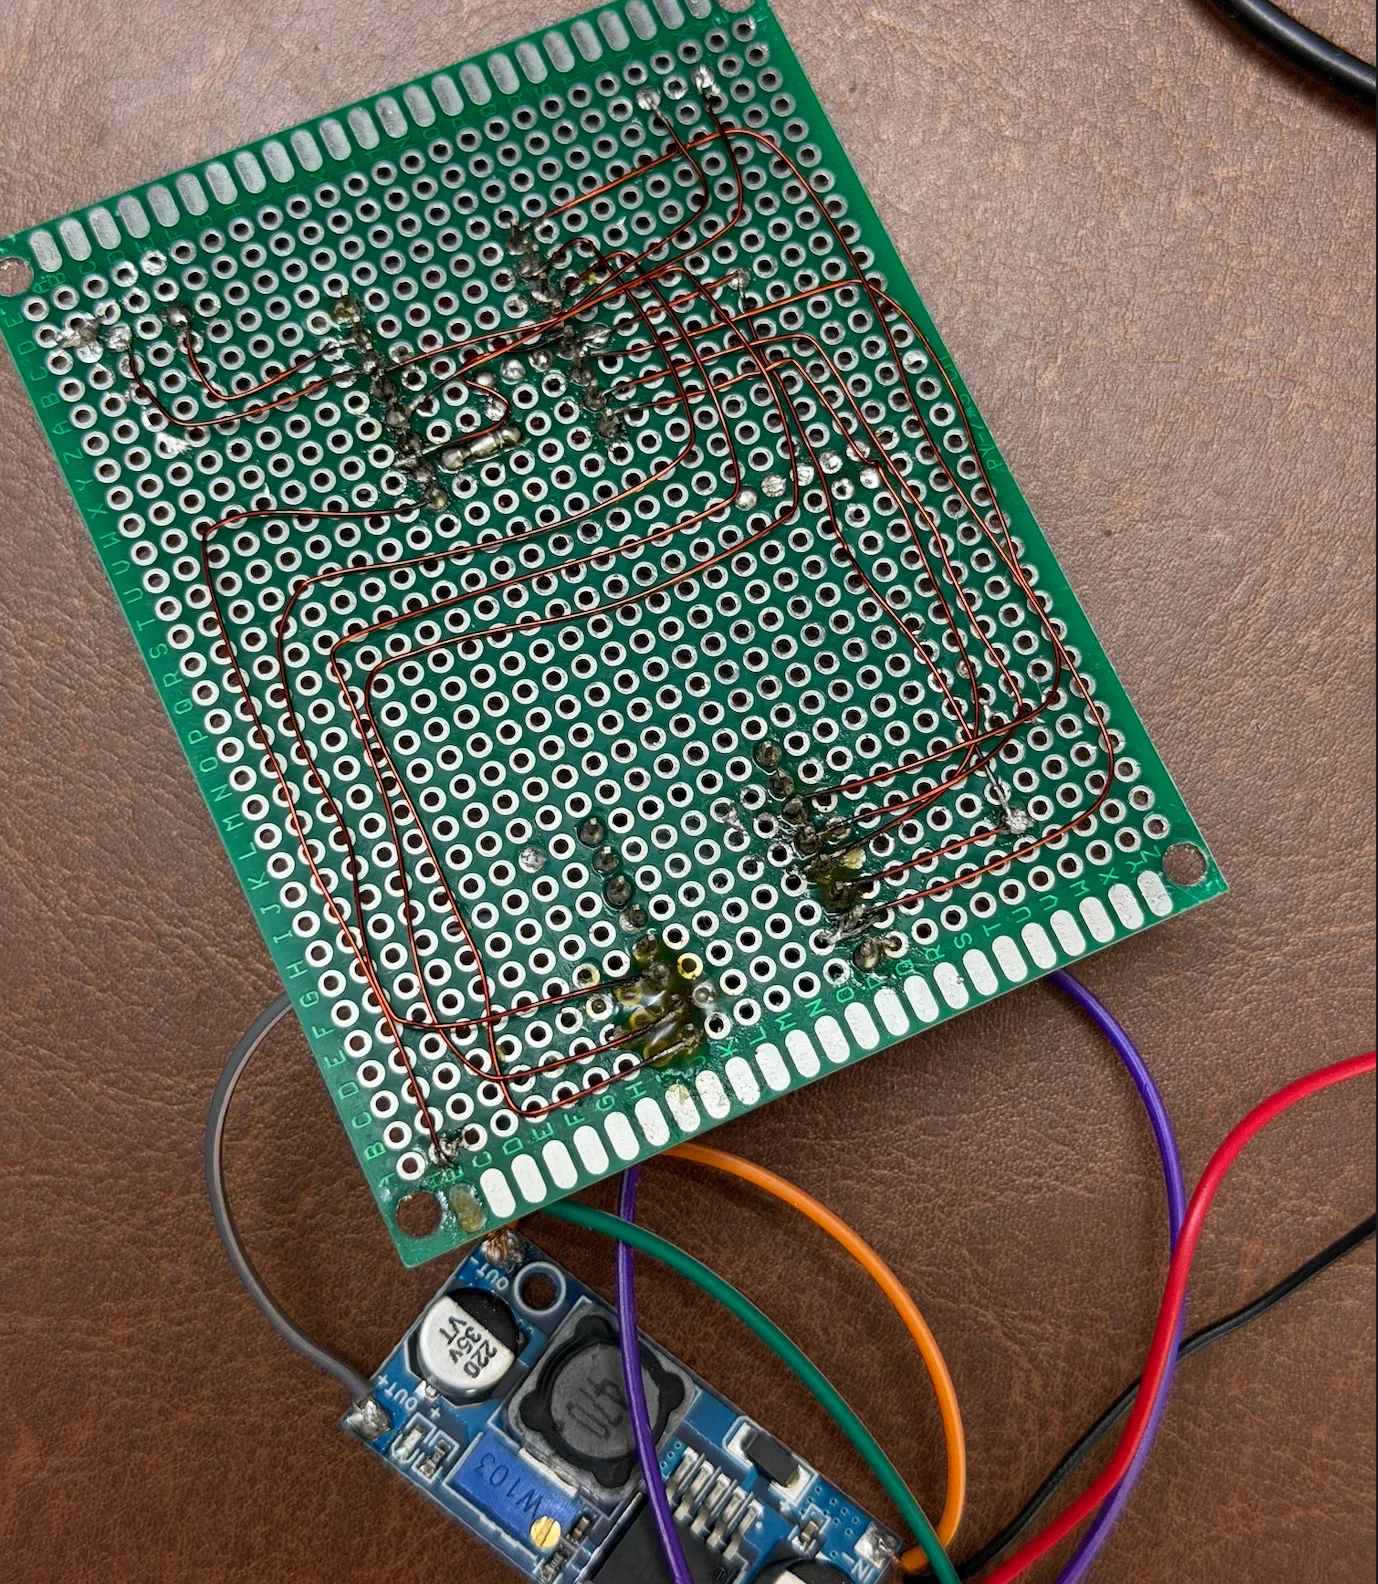
After destroying hardware, I had to rebuild parts of the circuit from scratch.
Initially, I used wires salvaged from jumper cables, but they quickly became messy and fragile.
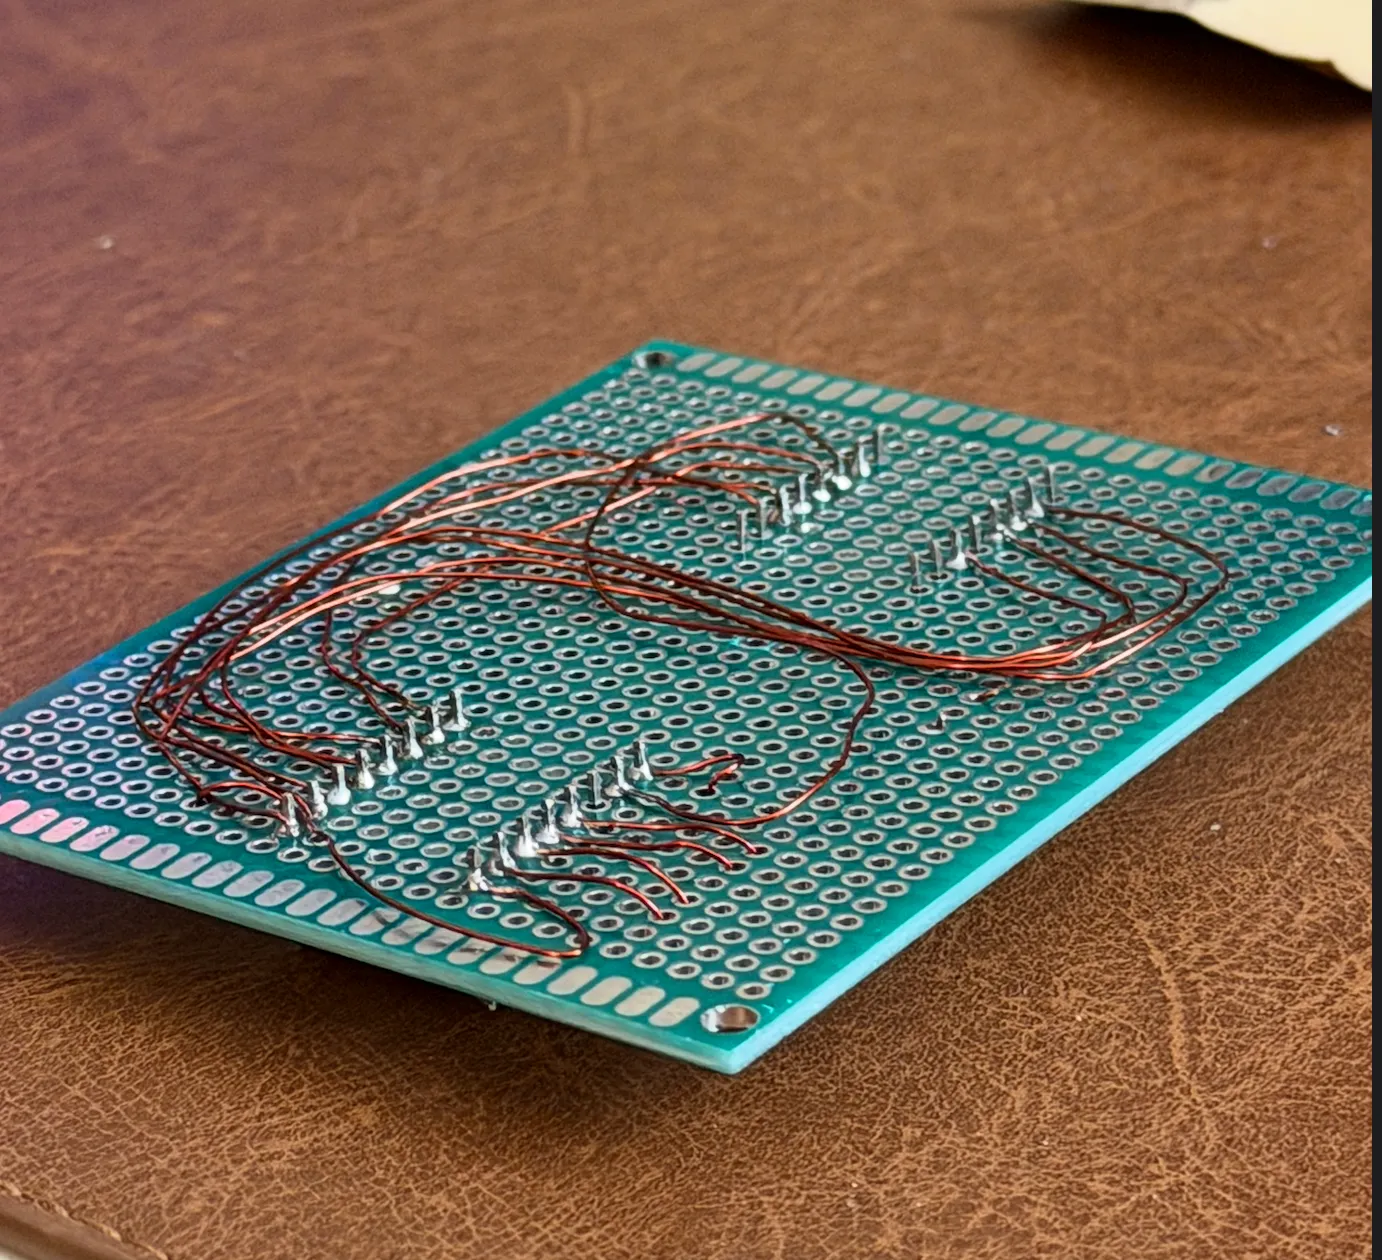
Eventually, I switched to enamel copper wire. I removed the insulation manually using sandpaper and soldered every connection onto the perfboard.
The final wiring looked surprisingly clean.
Seeing a neatly soldered board that you built yourself is an incredibly satisfying feeling.
I learned how to debug hardware
Before this project, my debugging experience was limited to software.
Now I was checking continuity, verifying voltage rails, and making sure there were no shorts before applying power.
I learned that two pins touching accidentally can prevent an ESP32 from booting correctly or destroy components instantly.
A multimeter quickly became my favorite debugging tool.
Watching a GPIO pin physically transition from HIGH to LOW feels strangely magical when you’ve spent years only seeing bits change inside software.
I learned how to power embedded systems
I learned how to run an ESP32 entirely from batteries using voltage regulation and power distribution.
The car had its own battery pack, buck converter, power switch, and independent power system.
For the first time, I built something that wasn’t tethered to a USB cable.
That felt different.
It felt real.
What’s Next?
I’m intentionally not planning to spend much more time improving this car.
The project already taught me the important lessons:
- How to solder reliably.
- How to use motor drivers.
- How to power an ESP32 from batteries.
- How to interface with external hardware.
- How to control a microcontroller wirelessly.
- How to debug electrical systems.
- How little I know about EMI.
I could spend weeks improving the chassis, tuning movement, reducing interference, and polishing the design.
But I feel like I’ve already extracted around 80% of the learning value from this project.
The remaining 20% is optimization.
Instead of chasing perfection here, I’d rather start another project and expose myself to entirely new problems.
The next project will probably involve motors again.
And hopefully by then, EMI won’t feel like black magic anymore.